 Elevenbeans
全栈开发实例:如何独立开发/发布一个 WebAPP
talkIsCheap( )?goto(lastParagraph):continue( )
背景
全栈工程师,也叫全端工程师(同时具备前端和后台能力),英文 Full Stack developer。是指掌握多种技能,并能利用多种技能独立完成产品的人. (From 百度)
敲黑板:利用多种技能独立完成产品。
So, 至少需要一个人 cover 掉 前端 + 后端 + 数据库吧 ~
搞一个活生生的投票应用送给各位 : ) 具体功能为:
对于已经授权用户可以:
- 新建一个 poll,可自定义其中的选项
- 存储发起的 polls,下次登陆仍旧可以看到自己发起的 polls 集合
- 看到应用中所有用户创建的 polls 的实时投票结果 (用图表展示)
- 向所有 polls 投票(每个 poll 每个用户号只能投一票).
- 可分享 poll (poll 详情页支持外部 landing)
非授权用户只能:
- 看到应用中所有用户创建的 polls 的实时投票结果 (用图表展示)
开发过程
整体技术目标:React + Express + Mongodb 完成一个投票 SPA
前端
- 概述
- 使用 JS 语言标准 ES6
- 模块化:ES6 module
- 使用 React + ReactDOM 进行框架前端组件化开发
- React-Router:SPA 的核心,与后端路由配合完成应用路由
- React-router-transition:转场过渡效果就是要做到如丝般顺滑~
前端入口 (View source)
利用 React router 将首页指向 Home 组件,定义三个新路由 list、detail、new,分别指向对应页面组件。
1234567891011121314<Router key={Math.random()} history={browserHistory} ><Route path="/" component={App}><IndexRoute component={Home}/><Route path="/list(/:name)" component={List}></Route><Route path="/detail(/:id)" component={Detail}></Route><Route path="/new" component={New}></Route></Route></Router>页面级组件
每一个页面级组件对应一个应用页面,均继承自React.Component- home (View source)
- 作为应用的首页, 列出应用主要功能和信息
- 对应 router:
/
- list (View source)
- 列表页展示所有 polls 及对应 title、owner 等概要信息
- 对应 router:
/list(/:name)
- detail (View source)
- 详情页展示指定 poll 的详细信息
- 对应 router:
/detail(/:id)
- new (View source)
- 新建页收集新建 poll 的必要信息
- 对应 router:
/new
- home (View source)
公共组件
- header (View source): 所有页面的共同头部,包含个性化 menu、用户头像姓名,登入登出按钮等等
- footer (View source): 可复用的页面底部,包含 copyright 信息
- loading: 加载动效 (推荐一个工具 loading.io)
- spning: 按钮等待动效
- 异步请求
- zepto ajax (均采用 POST, 整站开发, 不跨域)
后端
- 概述
- 使用 Express 框架搭建后端服务,作为 SPA 的入口和容器。
- 使用单一职责的
express.Router(),配合前端 React-router。处理外部直接 Landing、原地重刷新以及区分 404 页面: - 使用 ejs 模版引擎作为主应用的后端 View:
- Views
- index (View source): 后端入口模版,提供
React.reader()的目标 DOM 节点 - header (View source): 模版公共头部:HTML 的
<head>信息,以及在其中需要同步加载的 js、css 资源 - footer (View source): 模版公共尾部: 主要用于加载 HTML 尾部 js 资源
- error (View source): 错误页模版
- index (View source): 后端入口模版,提供
Views Router (View source)
所有 Landing 或者页面刷新的链接都由后端同一收口到 views 中的 index,再由前端统一处理。
1234567891011121314151617181920212223router.get('/detail/:id', throwToHome);router.get('/detail', throwToHome);router.get('/list/:name', throwToHome);router.get('/list', throwToHome);router.get('/new', throwToHome);router.get('/', throwToHome);router.get('*', throwToError);function throwToHome(request, response){response.render('index',{cdnUrl: config.CDN_URL});}function throwToError(request, response){response.render('error',{cdnUrl: config.CDN_URL});}第三方用户登陆
- 选择 Github API,详细见 Github OAuth - Web Application Flow
API (View source)
/getPollList: 获取 polls 列表- 入参:
userName(用户名),可获取该用户创建的所有 polls; 缺省userName则获取所有存在的 polls - 返回: 符合条件的 polls 列表
- 入参:
/getPollByID: 获取指定的 poll 的详细信息- 入参:
pollID(poll 唯一标识) - 返回: 一个包含指定 poll 的单元素列表
- 入参:
/upDatePollByID: 更新一个 poll (投票)- 入参
pollID(poll 唯一标识);index(用户具体投给的选项编号);voter(传递投票的用户名,避免用户对同一个 poll 多次投票) - 返回
result:bool类型值,告诉你是否更新成功
- 入参
/insertPoll: 新建一个 poll- 入参
title(poll 题目),description(poll 描述),options: (poll 中的选项),ownerName(创建用户),voterList(投票用户,初始为空数组) - 返回
result:bool类型值,告诉你是否创建成功
- 入参
数据库
Mongodb
MongoDB 是一个基于分布式文件存储的数据库。由 C++ 语言编写。旨在为 WEB 应用提供可扩展的高性能数据存储解决方案。MongoDB 是一个介于关系数据库和非关系数据库之间的产品,是非关系数据库当中功能最丰富,最像关系数据库的。环境安装和配置
- 下载:Download
- 安装:解压压缩文件至你任何想要存放的地方
- 配置:二进制文件可以直接执行, 配置你的
.bashrc文件:export PATH=<mongodb-install-directory>/bin:$PATH, 例如我的是export PATH=$HOME/mongodb/bin:$PATH 运行 mongodb 服务, 默认 27017 端口
1mongod运行 Cli, 用命令行对于数据库的常用操作
1mongo // 进入 Cli1show dbs // 显示所有数据库1use <dbName> // 进入指定数据库1show collections // 显示所有 collections (table)1db.<collectionName>.find({}) // 查询1db.<collectionName>.deleteOne({}) // 删除
Express 连接 Mongodb (View source):
123456789101112131415var dbUrl = 'mongodb://localhost:27017/voting'var mongo = require("mongodb").MongoClient;mongo.connect(dbUrl, function(err, db){var pullList = db.collection('pollList');pullList.find({ownerName: ownerName},{}).sort({timestamp: -1}).toArray(function(err, docs){if(err){db.close();errCal(err);} else {db.close();sucCal(docs);}});});数据库 collection (table) 设计
userList schema:
pollList schema:
发布过程
heroku 发布代码至云服务
官网 (可能需要梯子)
- 下载 Heroku Cli Download
进入项目根目录
1cd WeVoting执行
heroku login进行登录,无账号则去官网申请执行
heroku create <yourAppName>创建 App,这里的appName也是你在herokuapp.com下的三级域名1heroku create we-voting-ele推送代码到 heroku 进行发布
1git push heroku master打开应用
1heroku open新建一个 Procfile 设置服务开启命令
1web: node index.jsScale the app
1heroku ps:scale web=1
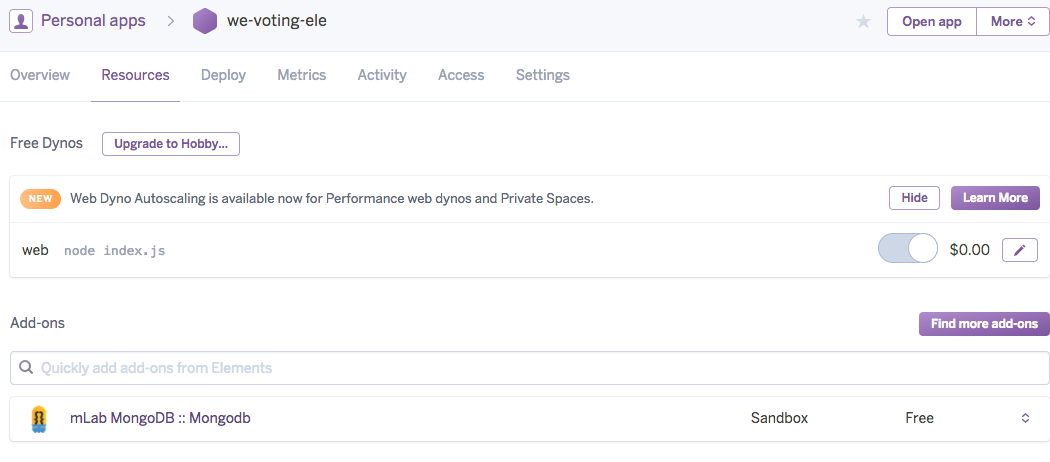
heroku addons 部署 mongodb 云服务 mLab MongoDB
一行命令部署 mLab MongoDB 免费版
1heroku addons:create mongolab:sandbox获取云数据库服务链接
Mongodb_uri, 用于后台代码连接 Mongodb 服务1heroku config
详情请见:Getting Started on Heroku with Node.js
Done ~
LISENCE
最后送上源码和 Demo
看完了就去 Git repository 加个星星吧 : )
能互相 follow 就更好了 ~